
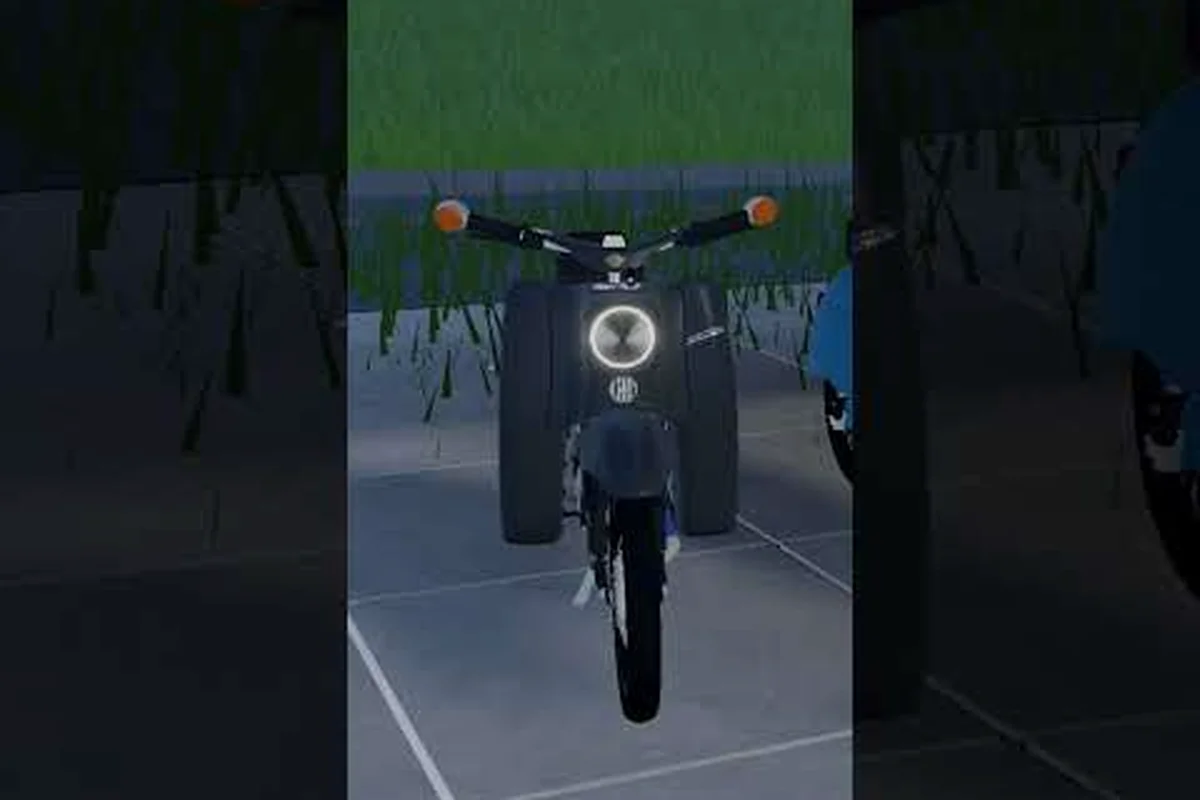
Tuning a moped in German Moped Days is the fastest way to turn a sluggish commuter into something that actually pulls, and this German Moped Days tuning guide walks you through your first mods in the right order. Knowing which parts to buy first saves you real money before you ever touch a cylinder.
What Tuning Actually Changes on Your Moped
Tuning in German Moped Days is not a single button you press. It is a sequence of part swaps performed at a garage workshop, where a part menu opens and lets you compare prices before you commit. Every upgrade changes one of two core stats: top speed or acceleration. Community testing suggests most stock mopeds sit at a low baseline, and the first meaningful jump comes from engine work rather than cosmetic changes.
Top speed and acceleration are governed by separate part trees, so spending your first Marks on a cylinder kit or exhaust raises your top-speed ceiling, while a shorter final-drive ratio or lighter variator weights sharpens acceleration instead. That split is why the same MTX 110 build can feel quick off the line yet get walked on a long straight by an MTX 130 tuned the opposite way — each stat responds to different components, and the garage part menu shows you the price gap before you commit.
-
Top speed matters on long straights and open roads, where a higher ceiling lets you hold throttle longer without redlining.
-
Acceleration wins short sprints, city blocks, and any route with frequent stops or turns.
-
Handling stays mostly fixed unless you invest in frame or suspension parts, so a speed build can feel unstable if you ignore it.
-
Reliability is the hidden cost — aggressive engine parts can stress stock components, so pairing upgrades matters.
Players weigh speed-focused tuning against acceleration-focused setups constantly, and there is no universal winner. The right answer depends on where you ride and how much you are willing to spend. A balanced first build usually beats a maxed-out single stat, because a moped that accelerates hard but tops out early still loses on the open road.
Why the First Mod Matters Most
Your first mod sets the tone for everything after it. If you drop your entire budget into a single high-end cylinder, you may not have enough left for the exhaust or carburetor work that lets that cylinder breathe. Community reports consistently show that matched part sets outperform one expensive outlier, because the game models how components interact rather than scoring each part in isolation.
That is why this German Moped Days tuning guide front-loads the cheap, high-impact swaps. A racing variator paired with lighter roller weights typically costs a fraction of a big-bore kit yet delivers the most noticeable acceleration gain per credit spent, while a sport exhaust and upjetted carburetor unlock the top-end that a stock pipe chokes off. On the MTX 110, this staged approach keeps you inside the stock cylinder's safe RPM range, so you avoid the overheating and seizure risk that comes from bolting on an MTX 130 top end before the supporting parts can feed it. Get those first swaps right and your moped feels transformed for a fraction of a full build.
Comparing Tuning Parts and Their Prices
Before you buy anything, understand what each part category does and roughly what it costs. Prices shift, and the Cheap Tuning pass reportedly cuts part and tuning prices by around 35%, which completely changes the economics of upgrading a garage full of bikes. If that discount is active, it is almost always worth buying then rather than at full price.
| Part Category | Primary Effect | Cost Tier | Best For |
|---|---|---|---|
| Cylinder kit | Top speed + power | High | Long-term builds |
| Exhaust | Acceleration + mid-range | Medium | First upgrade |
| Carburetor | Throttle response | Low–Medium | Cheap gains |
| Air filter | Consistency | Low | Supporting mods |
| Sprocket / gearing | Top speed vs. accel trade | Low | Fine-tuning feel |
| Frame / suspension | Handling + stability | Medium | Speed builds |
The table above is the backbone of any sensible plan. Notice that the cheapest categories — carburetor, air filter, sprocket — deliver the best value per Euro early on, while the cylinder kit is where the big money goes. Buying a cylinder before you have supporting parts is the single most common mistake new tuners make.
Reading the Part Menu Like a Veteran
When the part menu opens at a workshop, you are comparing numbers, not vibes. Look at the stat deltas each part shows and check whether it stacks with what you already own. A part that boosts acceleration is wasted if your gearing already caps your speed, and a top-speed part is wasted on a route full of stop signs. The moped comparison breakdown helps you match a bike's natural strengths to the parts that amplify them.
How to Tune a Moped Step by Step
This is the practical core of the German Moped Days tuning tutorial: a repeatable order that keeps you from wasting money, because each stage unlocks the gains of the next. Start with carburetor and air filter, then exhaust, then gearing, and only install a cylinder kit once those supporting parts are dialed in — on an MTX 110, a 50cc kit bolted onto a stock pipe and 12mm carb often pulls no harder than the original, while the same kit on a matched pipe and 17.5mm carb transforms mid-range. Follow this sequence on any bike, then adjust the jetting and sprocket sizes for the model you actually own.
-
Ride the stock bike first. Learn where it feels slow — off the line, mid-range, or top end. Your weakest stat tells you what to buy.
-
Buy the cheap supporting parts. Carburetor and air filter first; they are low cost and improve throttle response immediately.
-
Add an exhaust. This is usually your first big-feeling upgrade, sharpening acceleration and mid-range pull.
-
Re-tune gearing. Adjust the sprocket to bias toward speed or acceleration depending on your routes.
-
Only then buy a cylinder kit. With supporting parts in place, the cylinder's gains actually show up.
-
Test after every single swap. One change at a time tells you exactly what worked.
That last point is easy to skip and expensive to ignore. If you install three parts at once and the bike feels worse, you have no idea which part caused it. One-at-a-time testing is slower but far cheaper in the long run.
Budgeting Your First Build
A realistic first build does not need the most expensive parts. Aim to spend roughly 60 percent of your budget on supporting mods and 40 percent on the cylinder, then keep a small reserve for a re-tune if the feel is off. Players who blow the whole budget on one part often end up with a bike that is fast on paper but unpleasant to ride, which defeats the purpose of tuning in the first place.
MTX 110 vs MTX 130: Which Engine to Tune
The MTX models are where most tuning questions start, and the two engine sizes behave differently enough that the same part list produces different results. According to community tutorials, including the BlockmasterMoped 130/110 MTX tutorial, the two MTX engine sizes respond to distinct tuning paths, so a setup that transforms one can underwhelm the other.
| Model | Engine Size | Tuning Character | First Upgrade Priority |
|---|---|---|---|
| MTX 110 | Smaller | Quicker to respond to cheap mods | Carburetor + exhaust |
| MTX 130 | Larger | Higher ceiling, needs matched parts | Exhaust + gearing |
| S51 | Vintage Simson frame | Distinct feel, community-favorite base | Supporting mods first |
The MTX 110 tutorial crowd tends to favor early acceleration gains, because the smaller engine benefits most from sharper throttle response and lighter gearing. The MTX 130 tutorial crowd leans toward top-speed builds, since the larger engine already has more headroom and rewards matched exhaust and gearing work. Neither path is wrong — they simply suit different riding styles.
The S51 Difference
The S51 sits on a vintage Simson frame with its own engine feel, and a dedicated S51 MTX 130 tutorial covers the first upgrade steps players commonly take on it. Because the frame and engine differ from the MTX line, do not assume an MTX part list transfers cleanly. Treat the S51 as its own project and test each swap the same way.
Where to Tune and How to Save Money
Tuning locations and garage workshops are where the actual work happens, and knowing where to go saves time. The part menu at these spots is your shopping list, so plan your purchases before you arrive rather than browsing on the spot. The best tuning setup overview maps out where tuning spots sit and how to sequence visits efficiently.
Money-saving habits that experienced players rely on: veterans of German Moped Days treat the Cheap Tuning pass as the anchor of a whole build, since its 35 percent discount on tuning parts dwarfs any single-purchase saving, and they layer bulk buys of supporting parts on top while that discount window is live. The deeper logic is that supporting parts stay cheap and useful across every stage, so stocking them early costs less than panic-buying mid-build, whereas cosmetic parts add zero speed and only drain the budget you need for MTX 110 and MTX 130 cylinder work. When a part feels wrong, re-tuning gearing or carburetion is far cheaper than re-buying a cylinder, and keeping one bike as a dedicated testbed lets you compare setups without risking your main ride.
-
Wait for the Cheap Tuning pass if you can — a 35 percent cut is enormous across a full build.
-
Buy supporting parts in bulk when a discount is live, since they are cheap and always useful.
-
Skip cosmetic parts until your performance build is finished; they do nothing for speed.
-
Re-tune instead of re-buying when a part feels wrong — gearing changes are cheaper than new cylinders.
-
Keep one bike as a testbed so you can compare setups without risking your main ride.
Part replacement is also a maintenance task, not just a performance one. Worn components drag your stats down, so replacing them restores performance you already paid for. The part replacement and upgrade guide explains how to tell the difference between a part that needs swapping and one that just needs re-tuning.
Matching Parts to Your Riding Routes
Where you ride should decide what you tune. A route with long open stretches rewards top speed, so gearing and cylinder work pay off. A tight city loop rewards acceleration, so exhaust and carburetor gains matter more. If you ride both, build a balanced setup and accept that you will not top either extreme — a versatile bike beats a specialist you cannot use half the time.
Frequent Setup Errors That Waste Money
Most wasted money in German Moped Days comes from a handful of repeatable errors, and the biggest is buying a big-bore cylinder before anything that can feed it. A 70cc kit bolted onto a stock 12mm carb and restricted exhaust will run lean, lose bottom-end, and often seize within the first few heat cycles. The smarter order is carb, then exhaust, then cylinder — each swap answering a weakness you actually felt on the road. Skipping that sequence is how a €400 parts pile turns into a slower moped.
| Mistake | Why It Hurts | Fix |
|---|---|---|
| Buying a cylinder first | No supporting parts to use its gains | Buy carb + exhaust first |
| Installing many parts at once | Cannot isolate what changed | One swap, then test |
| Ignoring gearing | Speed or accel capped by ratios | Re-tune sprocket |
| Chasing one stat only | Unbalanced, unpleasant ride | Build for your routes |
| Skipping maintenance | Worn parts erase gains | Replace worn components |
The pattern behind every mistake is the same: treating tuning as a shopping spree instead of a sequence. Each part should answer a specific weakness you felt while riding. If you cannot name the weakness a part fixes, you probably do not need that part yet.
When Further Parts Stop Helping
There is a point where more parts stop helping and start costing. Once your moped handles your usual routes comfortably and reliably, further upgrades deliver diminishing returns. At that stage, spending on a second bike or on maintenance usually beats squeezing another fraction of speed out of a build that already works. Knowing when to stop is a skill, and it protects your budget for the next project.
Frequently Asked Questions
What should I upgrade first on a stock moped?
Start with the cheap supporting parts — carburetor and air filter — then add an exhaust. These low-cost swaps improve throttle response and acceleration immediately, and they let a later cylinder kit actually deliver its gains. Buying a cylinder before supporting parts is the most common beginner mistake.
Is the MTX 110 or MTX 130 better for tuning?
Neither is strictly better; they suit different goals. The MTX 110 responds quickly to cheap acceleration mods, while the MTX 130 has a higher top-speed ceiling and rewards matched exhaust and gearing work. Pick based on whether your routes favor sprints or long straights.
How much does tuning cost in German Moped Days?
Costs vary by part and by whether the Cheap Tuning pass is active, which reportedly cuts prices by around 35 percent. Budget roughly 60 percent for supporting mods and 40 percent for the cylinder, and keep a small reserve for a re-tune in case the feel is off.
Do I need to tune the S51 differently from the MTX?
Yes. The S51 uses a vintage Simson frame with its own engine feel, so MTX part lists do not transfer cleanly. Treat it as a separate project, test each swap individually, and follow S51-specific guidance rather than assuming MTX setups apply directly.
Can I undo a bad tuning choice?
You can re-tune gearing and swap parts back, but you cannot always recover the money spent. That is why one-at-a-time testing matters — it lets you catch a bad part before you build on top of it. Cheap gearing changes are the easiest correction when a build feels wrong.
Tuning a moped in German Moped Days rewards patience far more than spending. Buy the cheap supporting parts first, add an exhaust, re-tune your gearing, and only then invest in a cylinder kit — testing one change at a time so you always know what worked. Match your build to the routes you actually ride, watch for the Cheap Tuning pass to stretch your budget, and stop upgrading once the bike handles your usual loops comfortably. Do that and your first build will feel fast, reliable, and worth every Euro.