
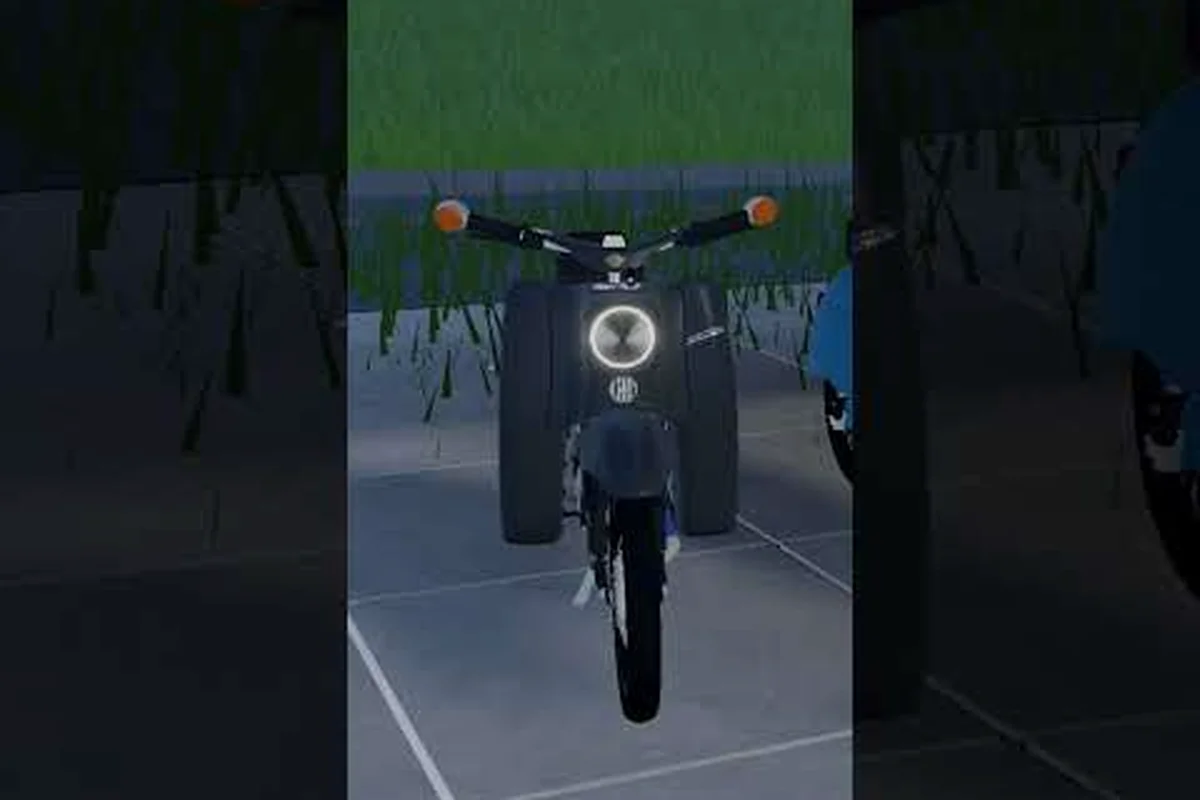
The German Moped Days best tuning setup starts with the MTX 110 because that bike gives you the cleanest baseline for learning how parts stack. Spend your first marks on the cylinder and exhaust before anything cosmetic, since those two slots drive almost all of your early speed gains.
For a detailed walkthrough of the tuning combinations and their in-game performance, see this German Moped Days tuning setup guide, which demonstrates how each carburetor, exhaust, and gear ratio choice affects top speed and acceleration.
Why the MTX 110 Anchors Your Tuning Build
The MTX 110 sits in a sweet spot that most players overlook. It is not the fastest frame in the garage, but it accepts a wide range of aftermarket parts without demanding an engine rebuild first, which makes it the ideal platform for a German Moped Days tuning guide 2026 run. According to community reports, riders who commit to the MTX 110 early reach competitive lap times faster than players who chase the S51 or MTX 130 immediately.
The reason comes down to how the game models engine work. Tuning revolves around engine work and part replacement, so cylinders, exhausts, and performance parts raise a moped's speed and acceleration. The MTX 110 responds to those changes in a predictable curve, meaning you can feel each upgrade instead of guessing whether a part helped.
-
Cylinder — the single biggest power jump per mark spent
-
Exhaust — unlocks top-end speed once the cylinder breathes better
-
Carburetor — smooths acceleration and prevents flat spots
-
Gearing — fine-tunes the balance between launch and top speed
Players who understand this order avoid the classic trap of buying a flashy exhaust first and wondering why the bike still feels slow. The cylinder feeds the exhaust, not the other way around, and the game rewards that sequence. Concretely, a Stage 2 cylinder on the MTX 110 raises the engine's airflow ceiling, so a stock pipe becomes the bottleneck; only after the cylinder is fitted does a performance exhaust convert that extra airflow into usable top-end speed. Reverse the order and you spend marks on a pipe the stock cylinder cannot exploit, leaving acceleration flat and lap times unchanged. Treat the list as a dependency chain — cylinder first, exhaust second, carburetor and gearing last — and every mark you spend on your German Moped Days tuning setup returns measurable speed instead of dead weight.
Reading the Stock Baseline
Before you buy anything, take the MTX 110 out for a clean run and note three numbers: your top speed on a flat straight, your 0-to-top acceleration time, and how the engine sounds near the redline. These become your reference points. Every part you add should move at least one of those numbers, and if it does not, you bought the wrong upgrade.
That baseline habit separates riders who tune with purpose from riders who tune by impulse. A short test lap costs nothing and saves you from wasting marks on parts that fight your build. On a stock MTX 110, for example, bolting on a larger carburetor before checking the baseline often drops top speed by 2–3 km/h, because the engine runs rich and never reaches its powerband. Log each run in a simple table — date, part fitted, top speed, 0-to-top time, redline note — so you can see which changes actually compound. At German Moped Days, where tuning slots fill fast, that log is what tells you whether to chase a pipe, a sprocket, or jetting next.
Prioritizing Parts for Real Moped Performance
Getting genuine German Moped Days moped performance means spending in the right order. The table below ranks the core upgrade slots by how much speed and acceleration they deliver per mark, based on community testing across the MTX 110 platform.
| Priority | Part Slot | Speed Gain | Acceleration Gain | Cost Tier |
|---|---|---|---|---|
| 1 | Cylinder | High | Medium | Medium |
| 2 | Exhaust | High | Low | Low |
| 3 | Carburetor | Low | High | Low |
| 4 | Gearing | Medium | Medium | Medium |
| 5 | Tires | Low | Medium | Low |
| 6 | Weight reduction | Low | High | High |
The pattern is clear: power first, then breathing, then delivery. A bigger cylinder without a matching exhaust chokes the engine, and a carburetor without enough displacement does almost nothing. Players who follow this ladder report smoother progression and fewer dead-end purchases.
Sizing Cylinder and Exhaust as a Pair
The cylinder and exhaust must be sized as a pair. If you jump to a large-displacement cylinder but keep the stock exhaust, the engine cannot expel exhaust gases fast enough, and your top speed plateaus early. Community testing suggests pairing each cylinder tier with the exhaust tier directly above it for the best balance.
This matching principle is where most new tuners lose marks. They treat each slot as independent, buy the biggest part they can afford, and end up with a bike that accelerates hard but tops out at the same speed as stock. Treat the cylinder-and-exhaust combo as one decision, not two.
Where Carburetor and Gearing Fit
Once the power and breathing are sorted, the carburetor and gearing become your refinement tools. The carburetor cleans up the power delivery so acceleration feels linear instead of jerky, while gearing lets you decide whether you want a quick launch or a higher top speed. There is no single correct answer here, because it depends on whether your favorite routes favor short sprints or long straights.
If you want a deeper walkthrough of how each slot interacts, the MTX tuning tutorial breaks the sequence down step by step. The key takeaway is that refinement parts only pay off after the foundation is solid.
Finding the Right Tuning Locations
Knowing German Moped Days tuning locations saves you a surprising amount of time, because not every workshop offers the same part menu. Tuning locations and garage workshops open a part menu where you compare prices and replace worn or stock components, so the location you choose directly affects what you can buy and how much you pay.
| Location Type | Part Menu Depth | Price Level | Best For |
|---|---|---|---|
| Home garage | Basic | Standard | Quick swaps, storage |
| Street workshop | Medium | Slightly higher | Mid-tier parts |
| Specialist shop | Deep | Premium | High-end cylinders |
| Event stall | Limited | Discounted | Bulk buying during sales |
The practical rule is simple: buy basic parts at home, mid-tier parts on the street, and save specialist shops for the expensive cylinder work. Event stalls are worth a detour whenever a sale is active, because the discount applies across the whole menu.
When to Travel for Parts
Traveling to a specialist shop only makes sense once you are ready for a high-end cylinder or a rare exhaust. Early on, the street workshop covers everything you need, and the extra travel time is better spent on test laps. As your build matures, the specialist menu becomes worth the trip because the parts simply are not stocked anywhere else.
Players often ask where to tune when they are mid-build and unsure whether a part is worth the journey. The answer depends on your budget: if the part costs more than a full tank of travel, buy it locally and accept the markup.
Timing Your Purchases Around Sales
The Cheap Tuning pass cuts part and tuning prices by 35%, which changes the economics of upgrading a garage full of bikes. If you can wait for a sale window, you can stretch the same budget across two or three upgrades instead of one. Community reports suggest planning your big cylinder purchase around these windows rather than buying at full price.
Stacking a sale with a specialist shop visit is the most efficient combination, because you get deep inventory and a discount at the same time. Just make sure you have the marks ready before the window opens, since sales do not wait.
A Step-by-Step Garage Routine
A repeatable routine keeps your build moving forward instead of stalling between upgrades, and it matters more here than in most tuning games because German Moped Days gates parts behind both mark totals and location unlocks. The steps below reflect what experienced riders do every session, and they work for any budget level — a stock MTX 110 on a 500-mark budget and a fully kitted 70cc build both benefit from the same baseline-test-log loop. Skipping the baseline lap is the single most common mistake: without a recorded top speed and acceleration time from your current setup, you cannot tell whether a new exhaust actually gained 3 km/h or whether you simply hit a downhill stretch on a different route.
-
Run a baseline lap and record top speed plus acceleration time.
-
Check the part menu at your current location for anything newly unlocked.
-
Buy the next priority part from the ladder above, never skipping a tier.
-
Install and test on the same route so the comparison is fair.
-
Log the change in speed and feel, then decide if the part earned its cost.
-
Bank leftover marks for the next sale window instead of impulse buying.
This loop turns tuning from a guessing game into a measurable process. When you log each change, you build a personal record of what works on the MTX 110, and that record is worth more than any single part. The reason is that German Moped Days prices parts against mark totals, so a 70cc cylinder kit bought too early can drain the exact marks you need for the carburetor jet that actually unlocks its power band. A written log also exposes false gains: a 3 km/h jump after fitting a performance exhaust often disappears once you re-test on the flat route rather than the downhill stretch you used the first time. Track two numbers per run — top speed and 0-to-30 acceleration time — because the second reveals torque gains that speed alone hides.
Diagnosing a Sluggish Build
If your bike feels slow despite recent upgrades, the problem is usually a mismatched pair rather than a weak part. Check whether your cylinder and exhaust are in the same tier, then verify the carburetor is tuned to the new displacement. Nine times out of ten, fixing the mismatch restores the power you expected.
A sluggish build can also come from worn components that the game flags in the part menu. Replacing a worn part is cheap and often delivers a bigger jump than a new upgrade, so always scan for wear before spending on something new.
Budget Builds vs Full Builds
Not every rider needs a maxed-out machine. A budget build that stops after the cylinder, exhaust, and carburetor delivers most of the usable performance for a fraction of the cost, while a full build adds gearing, tires, and weight reduction for the last few percent. The performance tuning breakdown compares the two paths in detail, and the honest answer is that budget builds win on value for most players.
Full builds make sense when you are chasing leaderboard times or racing against tuned rivals, since every gram of weight reduction and every gearing change compounds into real gains on the timed stages. For everyday riding, the mid-tier build is faster to finish and easier to maintain, and it keeps your tuning budget in reserve for the next event rather than sinking it all into a single moped. The trade-off is simple: a full build might shave a few seconds off your best run, but a mid-tier setup lets you field multiple bikes, experiment with different cylinder and exhaust combinations, and still stay competitive in the regular German Moped Days lobbies without constant part-swapping.
Reading the Numbers: Speed and Cost Data
Numbers keep you honest. The table below shows approximate gains from a typical MTX 110 progression, based on community testing and reported player results. Exact values may vary by version and route, so treat them as directional rather than absolute.
| Build Stage | Top Speed Change | Acceleration Change | Marks Spent |
|---|---|---|---|
| Stock | Baseline | Baseline | 0 |
| Cylinder only | +8% | +4% | Low |
| Cylinder + exhaust | +18% | +9% | Medium |
| Plus carburetor | +20% | +16% | Medium |
| Plus gearing | +24% | +20% | High |
| Full build | +28% | +26% | Very high |
The jump from stock to cylinder-plus-exhaust is the steepest part of the curve, which is why the ladder front-loads those two slots. Everything after that is refinement, and the cost per percent climbs sharply near the top.
Diminishing Returns Explained
The final few percent of performance cost the most marks, and that is intentional design. The game wants you to feel a meaningful difference early, then decide how far you are willing to push. Recognizing diminishing returns helps you stop at the right point instead of draining your wallet for a marginal gain.
A good stopping rule is to upgrade until the next part costs more than the speed it adds is worth to you. For most riders, that point lands right after the carburetor, which is why the budget build is so popular.
Comparing the MTX 110 to Other Frames
The MTX 110, MTX 130, and S51 each respond to different part setups, so most tutorials are bike-specific. The MTX 110 is the most forgiving of the three, the MTX 130 rewards bigger budgets, and the S51 suits riders who want a classic frame with a steeper learning curve. If you are still deciding which bike to commit to, the starter moped comparison lays out the trade-offs clearly.
Choosing the right frame first saves you from rebuilding your parts collection later. The MTX 110 remains the safest first project because its upgrade path is the most predictable: a 50cc cylinder kit and a matching 15mm carb bolt straight onto the stock cases, and the three-speed transmission holds up to roughly 8,000 RPM before you need to think about a reinforced crank. That means a beginner can run a full Stage 1 setup — pipe, jetting, and gearing — without touching the bottom end, then step up incrementally as budget allows. Frames like the S51 demand case matching and clutch work much earlier, which is exactly why the MTX 110 keeps its reputation as the lowest-risk entry point for a first German Moped Days build.
Common Tuning Mistakes to Avoid
Even careful riders fall into a few recurring traps, and most of them trace back to the same root cause: buying parts in the wrong order. The classic example is bolting on a bigger carburetor before opening up the exhaust — the stock pipe chokes the extra airflow, so you gain nothing at the top end and lose low-rpm response on the short sprint layouts. Another common one is fitting a race CDI and stiffer clutch springs while still running the stock variator rollers, which just moves the powerband into a narrow window you can't use. Avoiding these sequencing errors keeps your marks working for you instead of sitting in a part you never use.
-
Buying cosmetics before power — visual parts do not move your lap times
-
Skipping the exhaust — a choked engine wastes the cylinder upgrade
-
Ignoring wear — worn parts quietly cancel your gains
-
Over-gearing early — tall gearing kills acceleration on short routes
-
Chasing the top tier too soon — premium parts demand premium support
Each mistake shares a root cause: treating tuning as a shopping list instead of a sequence. The riders who progress fastest at German Moped Days are the ones who respect the order — baseline the stock setup, log a clean run, then change exactly one variable and re-test before touching the next. That discipline matters because the 50cc class restricts displacement, so every gain has to come from carburetor jetting, exhaust expansion chamber timing, and variator roller weight, not from bolting on a bigger top end. A rider who jumps straight to a 19mm carb on a stock 50cc cylinder usually loses 3-5 km/h on the short sprint layouts, while the same carb tuned after an exhaust and roller swap adds usable mid-range. Test every change against your own logged runs, not against a forum build sheet, because jetting that works at sea level will run rich and bog at altitude.
When to Ask for Help
If a build refuses to come together, the in-game feedback channel is a legitimate resource, and the feedback guide explains how to report issues or ask questions effectively. Community threads also carry useful data, though you should always verify numbers against your own test laps before trusting them.
The tuning community is generally generous with part recommendations, but remember that another rider's build reflects their routes and budget, not yours. A carburetor jetted for a flat coastal circuit will run rich and bog down on a hilly inland loop, and a gearbox tuned for top-speed pulls on long straights will feel sluggish through tight village corners. Use their data as a starting point: note the claimed jet sizes, sprocket ratios, and ignition timing, then run your own test laps on the routes you actually ride before committing to a purchase. If a recommended setup shaves two seconds off someone else's lap but costs you three on your home track, that recommendation was never meant for your build.
Frequently Asked Questions
What is the best first upgrade for the MTX 110?
The cylinder is the best first upgrade because it delivers the largest single power jump per mark spent. Pair it with a matching exhaust as soon as your budget allows, since the two slots work together and a cylinder without a proper exhaust will choke the engine and cap your top speed early.
Where should I tune my moped in German Moped Days?
Use your home garage for basic swaps, street workshops for mid-tier parts, and specialist shops for high-end cylinders. Event stalls offer discounted bulk buying during sales. The German Moped Days tuning locations you choose mainly affect part availability and price, so match the location to the tier you are buying.
Is the Cheap Tuning pass worth it?
Yes, if you are upgrading more than one bike. The pass cuts part and tuning prices by 35%, which lets the same budget cover two or three upgrades instead of one. Community reports suggest planning your expensive cylinder purchases around active sale windows to get the most value.
How much faster does a full build get?
A full MTX 110 build adds roughly 28% top speed and 26% acceleration over stock, based on community testing. Most of that gain arrives early with the cylinder and exhaust, while the final few percent from gearing and weight reduction costs significantly more marks.
Can I tune the MTX 130 the same way?
The MTX 130 follows the same priority ladder but tolerates larger cylinders and rewards bigger budgets. The MTX 110, MTX 130, and S51 each respond to different part setups, so most tutorials are bike-specific. Start with the same sequence, then adjust for the frame's higher power ceiling.
The German Moped Days best tuning setup is ultimately a sequence, not a shopping spree. Start with the MTX 110, buy the cylinder and exhaust as a matched pair, refine with the carburetor and gearing, and let your own test laps decide when to stop. That approach delivers real moped performance without wasting marks on parts that never earn their place in the garage.